
Ceiling repair
How We Plan a Stained or Damaged Popcorn Ceiling Repair
A practical sequence for protecting the room, removing loose material, treating stains, matching texture and repainting the full ceiling area.
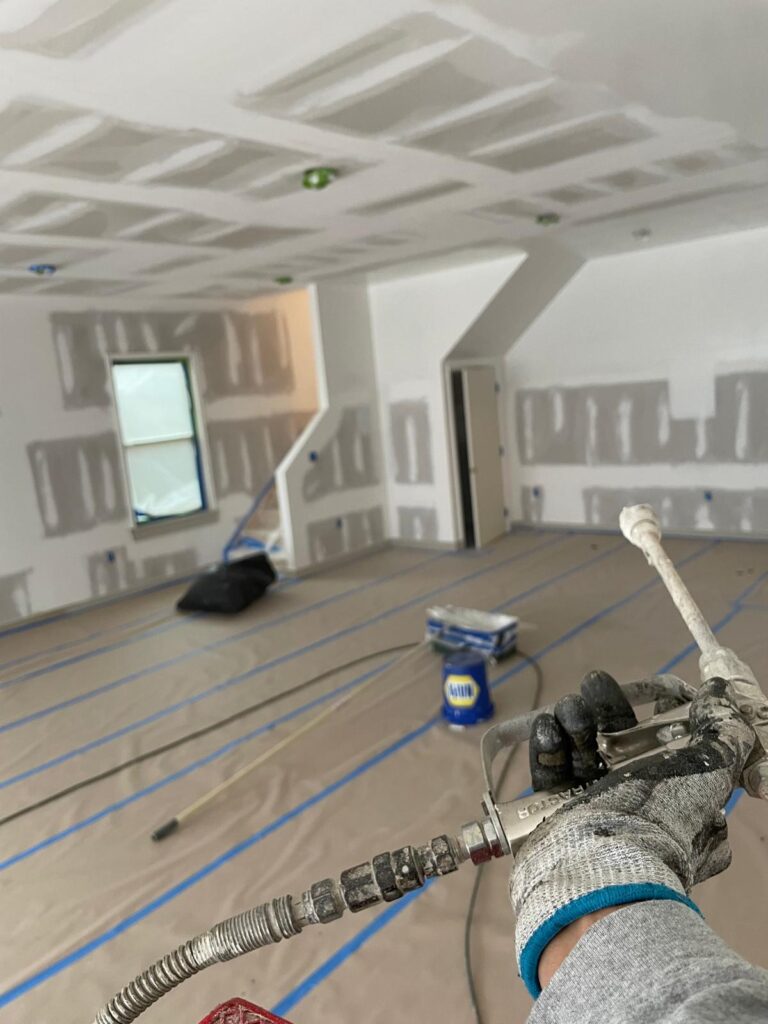
Water stains and loose ceiling texture are not solved by simply rolling paint over the surface. A durable repair starts by identifying what is loose, what is stained and what must be replaced before the finish coat is applied.
Protect the occupied space first
Before scraping begins, floors, walls, furniture, cabinets and nearby fixtures should be covered carefully. Ceiling work creates fine dust and falling texture, so plastic, paper and clean drop cloths are part of the repair—not an optional extra.
The work zone should also be separated from the rest of the property as much as practical. This keeps cleanup controlled and gives the crew room to inspect the ceiling without damaging finished surfaces below.
Remove failure and block the stain
Only sound material should remain. Loose texture is scraped back, damaged tape or drywall is repaired, and the surface is allowed to dry. If the original moisture source has not been corrected, cosmetic work should wait.
A stain-blocking primer is then selected for the condition of the ceiling. The goal is to isolate discoloration so it does not bleed through the new texture or finish paint.
Match texture, prime and repaint
New texture is blended into the surrounding finish rather than stopping at a sharp patch line. After curing, the repaired area is primed and the full connected ceiling section is usually painted for an even sheen and color.
- ✓ Scraping and surface inspection
- ✓ Drywall or tape repair where needed
- ✓ Stain-blocking primer
- ✓ Texture matching
- ✓ Full-section ceiling paint